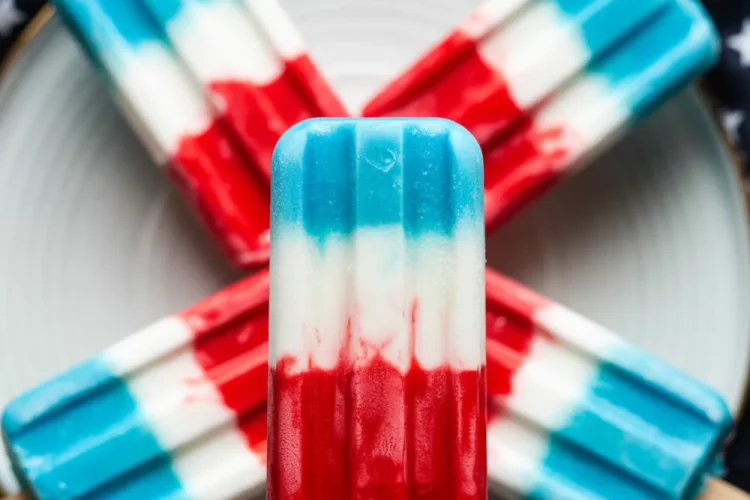
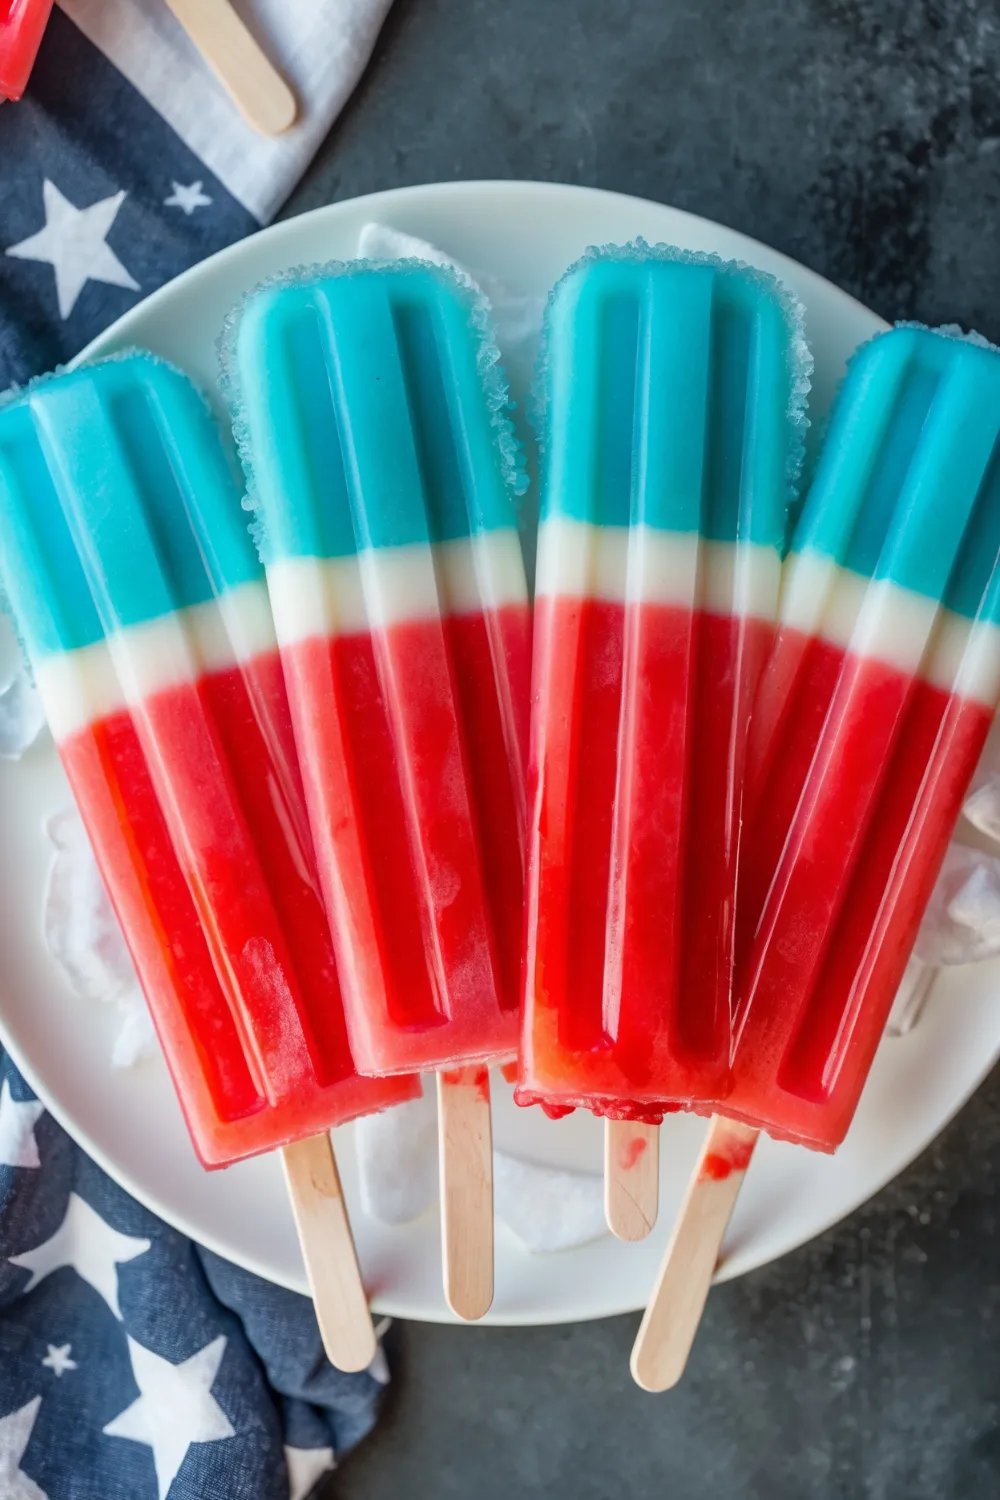
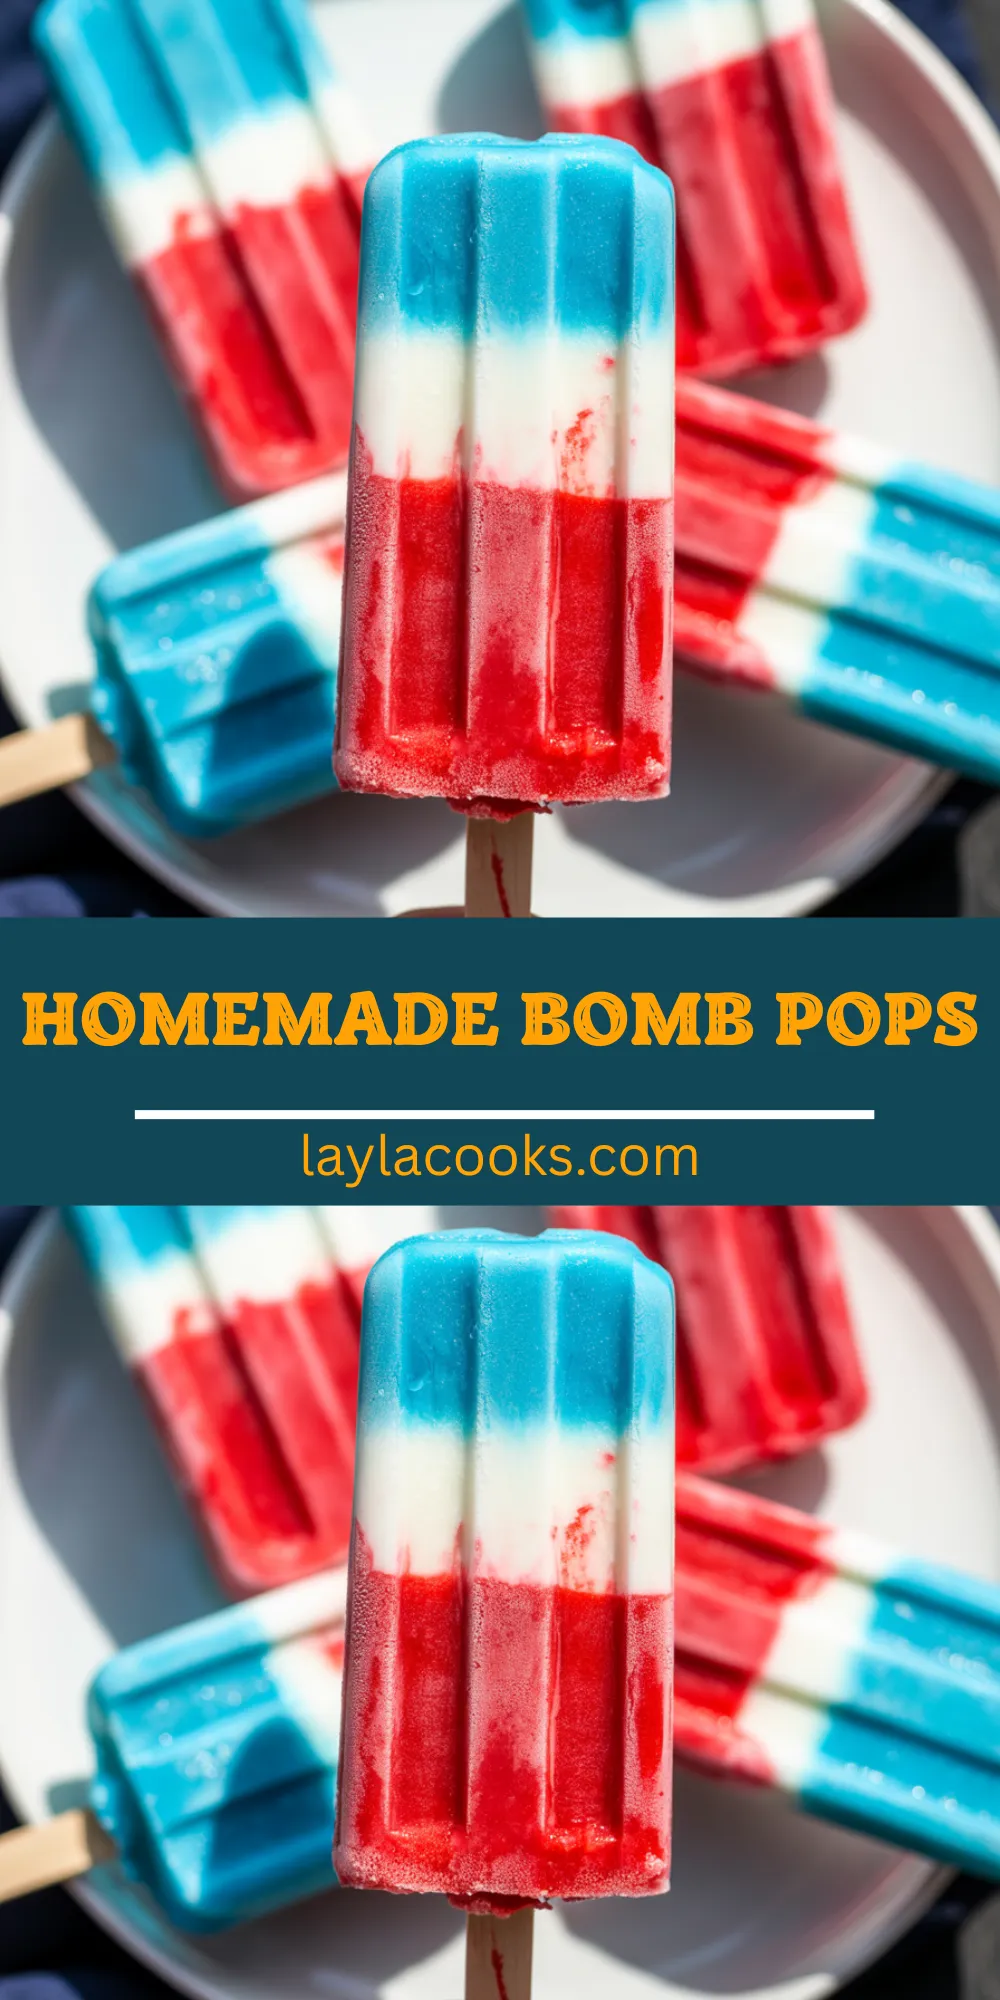
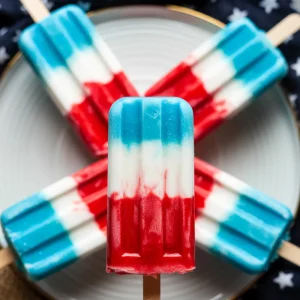
Cool off with a burst of nostalgia using these Homemade Bomb Pops, a vibrant Summer Treat that layers cherry, lime, and blue raspberry flavors into a refreshing frozen pop. Perfect for 4th of July parties, backyard barbecues, or hot summer days, these easy-to-make treats will delight kids and adults alike with their colorful, icy goodness!
Why You’ll Love Homemade Bomb Pops
The Homemade Bomb Pops shine as a Summer Treat:
- Nostalgic Vibes: Recaptures classic Bomb Pop flavors from childhood.
- Party-Ready: Stunning layers perfect for festive gatherings.
- Customizable: Swap flavors or go healthier with ease.
- Kid-Friendly: Fun to make and eat together.
I adore this Summer Treat for its refreshing taste and eye-catching appeal!
Ingredients for Homemade Bomb Pops
Here’s what you’ll need for Homemade Bomb Pops (makes 10 popsicles):
Simple Syrup:
- 3 cups water
- 1 cup granulated sugar
Red Layer:
- 1 cup simple syrup
- ¼ cup maraschino cherry syrup
White Layer:
- ¾ cup simple syrup
- ¾ cup coconut milk
- ¼ tsp lime extract
Blue Layer:
- 1¼ cups simple syrup
- 1 tsp raspberry extract
- 3–4 drops blue food coloring
Equipment:
- 10 popsicle molds (Bomb Pop–style or standard)
- 10 popsicle sticks
Ingredient Tips:
- Sugar Syrup: Cool completely before mixing to avoid melting layers.
- Coconut Milk: Full-fat for creaminess; shake well before use.
- Extracts: Use pure extracts for bold flavor; adjust to taste.
- Food Coloring: Gel or liquid works; natural juices can substitute.
- Molds: Silicone molds release pops easily; rinse with warm water if needed.
Directions for Homemade Bomb Pops
Let’s create these colorful Homemade Bomb Pops!
Make Simple Syrup
- In a medium saucepan, I combine 3 cups water and 1 cup sugar over medium heat, stirring until dissolved, about 3–5 minutes.
- I let it cool to room temperature, about 30 minutes.
Prepare Red Layer
- I mix 1 cup cooled simple syrup with ¼ cup maraschino cherry syrup in a measuring cup.
- I pour into 10 popsicle molds, filling each about one-third full.
- I freeze for 1–2 hours until solid.
Add White Layer
- I blend ¾ cup simple syrup, ¾ cup coconut milk, and ¼ tsp lime extract.
- I carefully pour over the frozen red layer, filling another third.
- I insert popsicle sticks and freeze for 1–2 hours until firm.
Finish with Blue Layer
- I combine 1¼ cups simple syrup, 1 tsp raspberry extract, and 3–4 drops blue food coloring.
- I pour over the frozen white layer, filling to the top.
- I freeze for 1–2 hours until fully set.
Unmold and Serve
- I run warm water over the molds for 5–10 seconds to loosen.
- I gently pull out the pops and serve immediately or wrap in parchment paper for storage.
Nutrition
- Prep Time: 10 minutes
- Freeze Time: 6 hours
- Total Time: ~6 hours 10 minutes
- Yield: 10 popsicles
- Calories: ~120 kcal per popsicle
- Macros per Popsicle: 30g carbs, 1g protein, 2g fat, 0g fiber
Variations for Homemade Bomb Pops
Try these twists on Homemade Bomb Pops:
- Fruity Swap: Use strawberry puree for red and blueberry for blue in this Summer Treat.
- Creamy Boost: Add yogurt to all layers for a creamier Summer Treat.
- Sugar-Free: Use stevia and unsweetened extracts for a lighter option.
- Tropical Twist: Try mango, pineapple, and passionfruit flavors.
- Mini Pops: Use ice cube trays for bite-sized treats.
Serving Ideas:
- Pair with Layla Cooks’ Southern Fried Chicken Batter for a summer feast.
- Serve at a picnic to complement the Summer Treat vibe.
- Add sprinkles on top for extra fun before freezing the final layer.
Storage
I store Homemade Bomb Pops in an airtight container in the freezer for up to 2 weeks, wrapping each in parchment or wax paper to prevent sticking. I avoid thawing and refreezing to maintain texture. For best flavor, I enjoy them straight from the freezer—no reheating needed.
FAQs About Homemade Bomb Pops
Here are some common questions about this recipe:
What molds are best for Bomb Pops?
Special Bomb Pop–style molds create the classic shape, but any popsicle mold will work.
Can I make these without food coloring?
Yes, you can use natural fruit juices or purees for coloring.
How long should I freeze each layer?
Each layer should freeze for at least 1–2 hours before adding the next to keep layers distinct.
Can I use other extracts for different flavors?
Absolutely! Try strawberry, orange, or lemon extracts for fun twists.
How do I keep layers from mixing?
Make sure each layer is fully frozen before adding the next. Pour slowly and carefully.
Is there a dairy-free option?
Yes, coconut milk makes the white layer creamy and is naturally dairy-free.
Can kids help make these?
Definitely! Let them help pour and layer, just supervise the freezing steps.
How can I add extra texture?
Mix in small fruit chunks or a swirl of honey into any layer before freezing.
Are these freezer-friendly long-term?
Yes, they can last up to 2 weeks wrapped and stored properly.
Can I make mini Bomb Pops?
Yes, use smaller molds or ice cube trays with mini sticks for bite-sized treats.
More Summer Dessert Ideas You’ll Love
- Chocolate Mousse Cake
- Cinnamon Sugar Blondies
- Strawberry Shortcake Cake (with sponge cake)
- Moist Cinnamon Apple Cake: A Sweet, Simple Deligh
Conclusion
Homemade Bomb Pops are a fun, easy, and delicious way to cool down in the summer while enjoying a blast from the past. With simple ingredients and endless variations, these frozen treats are sure to become a favorite in your household. Give them a try and make your summer a little sweeter!
Homemade Bomb Pops
Ingredients
- 1 cup strawberry juice or pureed strawberries
- 1 cup lime juice freshly squeezed
- 1 cup blueberry juice or pureed blueberries
- 1/2 cup water optional, to dilute if juices are too strong
- 2 –4 tbsp sweetener honey, agave, or sugar, adjust to taste
- Popsicle molds and sticks
Instructions
- In three separate bowls, mix strawberry juice with 1–2 tbsp sweetener until dissolved.
- In the second bowl, combine lime juice with sweetener to taste.
- In the third bowl, stir blueberry juice and sweetener until well blended.
- If juices are too concentrated, add water as needed to achieve balance.
- Carefully pour or spoon the strawberry mixture into the bottom third of each popsicle mold.
- Freeze for about 30–45 minutes, until firm to the touch but not fully frozen.
- Layer the lime mixture on top of the strawberry layer and freeze again for 30–45 minutes.
- Add the blueberry layer as the final layer and insert the popsicle sticks.
- Freeze completely for at least 4–6 hours, or overnight, until solid.
- To unmold, run the popsicle molds briefly under warm water and gently pull the sticks.
Notes
- Use 100% fruit juice or homemade purées for a clean, natural flavor.
- Adjust sweetness based on the acidity of your juices.
- Freeze time may vary by mold size—ensure each layer is set before adding the next.
- For vibrant colors, add a drop of natural food coloring to each layer.
- Pops will keep for up to 2 weeks in the freezer; store in airtight containers or freezer bags.
Did you Like This Recipe? Please Rate and Comment Below!